Many websites require authentication to protect private data. When working on a website that uses a server, it’s usually not too much trouble to create some server-side middleware that protects certain routes or web pages. When working on a serverless website served by Apache or Nginx, one can use htpasswd files to challenge users to authenticate. When working on a serverless website hosted from an S3 bucket, however, creating an authentication layer is a little more tricky. This post will attempt to make the process a little easier for others to create password-protected static sites with S3, CloudFront, and Lambda.
Creating a Static File Site on S3
To get started, you’ll want to create a sample web page. Here’s the one I’ll be using:
<!DOCTYPE html>
<html>
<head>
<meta charset='UTF-8'>
<title>HELLO!</title>
<style>
body {
background-color: #ffcb50;
background-image: url(iam.png);
background-size: 50px;
}
</style>
</head>
<body />
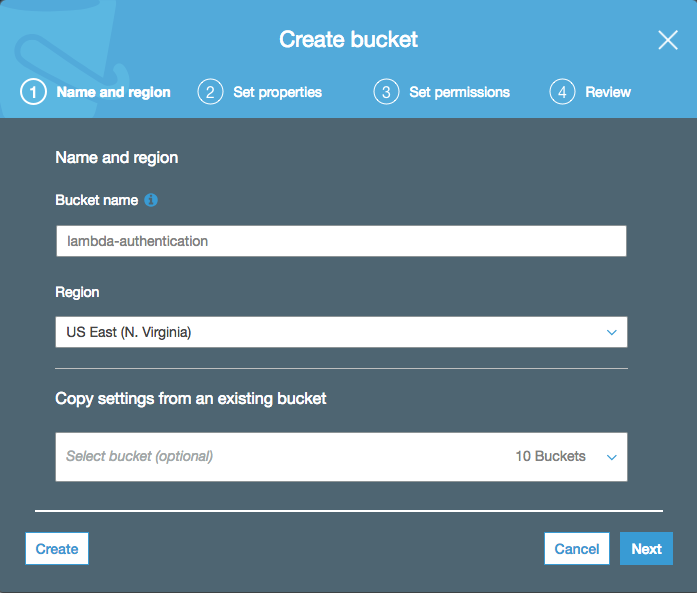
</html>Once you have an HTML page to display, you’ll need to register for an AWS account if you don’t already have one. Then, after signing in, go to your list of S3 buckets, click “Create bucket” and give your bucket a name. I’ll name my bucket lambda-authentication:
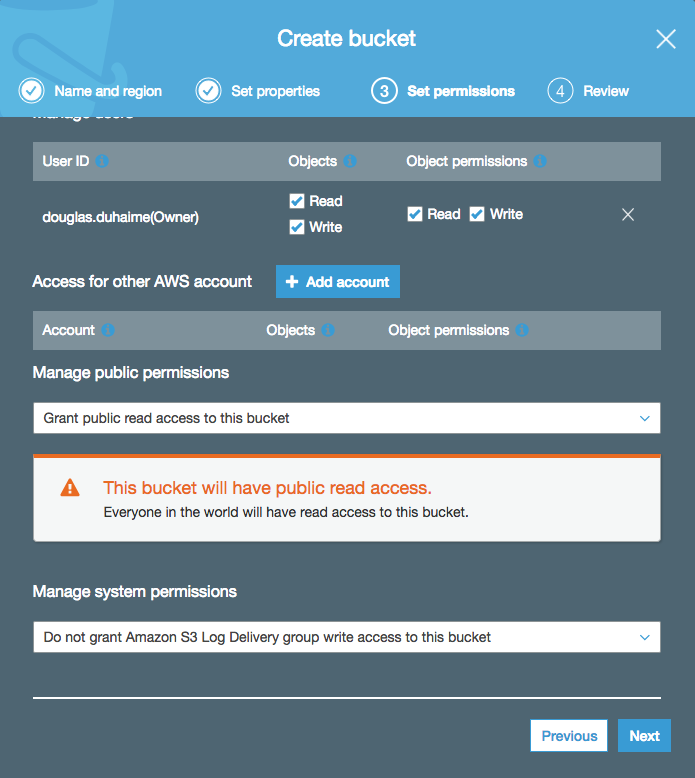
When prompted to set the permissions for the bucket, under “Manage public permissions”select “Grant public read acess to this bucket”. That will display a little orange message confirming that your bucket contents will be public (we’ll change this later):
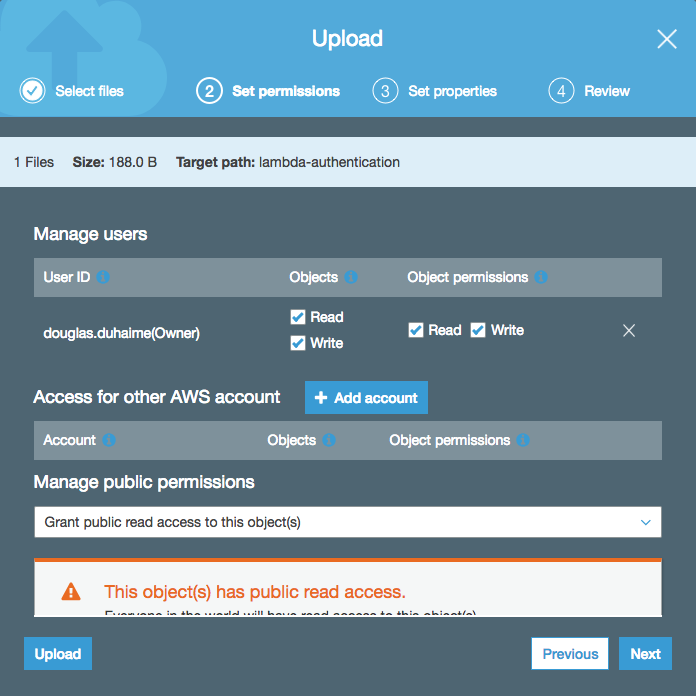
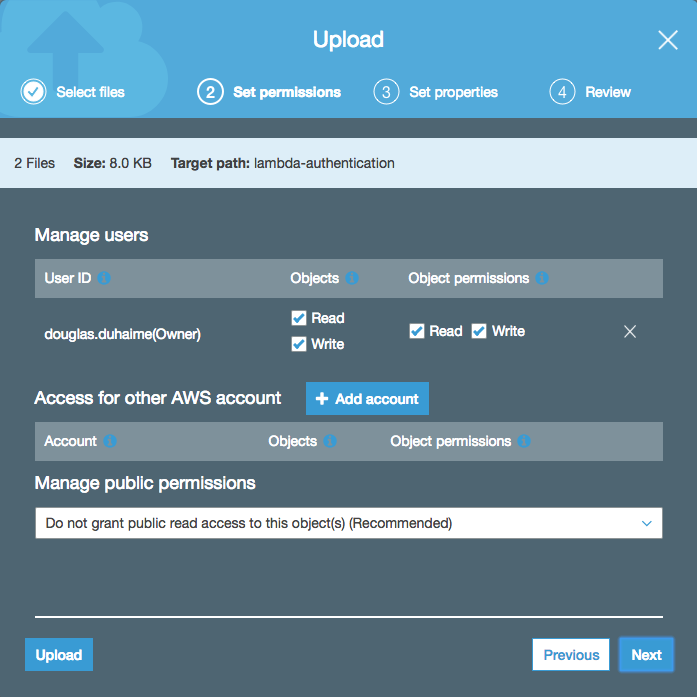
All other defaults are fine to accept. Once the bucket is created, you can upload your HTML file to the bucket by clicking the bucket, then clicking the “Upload” button. Drag your HTML file (which should be named index.html) into the filepicker, click “Next” until you are prompted to “Manage public permissions” for your uploaded file, and select “Grant public read access to this object(s)”:
Then keep clicking “Next” until you get to the end, and click “Upload”. Next click the “Properties” tab in your bucket, select “Server website hosting”, select “Use this bucket to host a website”, and specify “index.html” as the default and error documents:
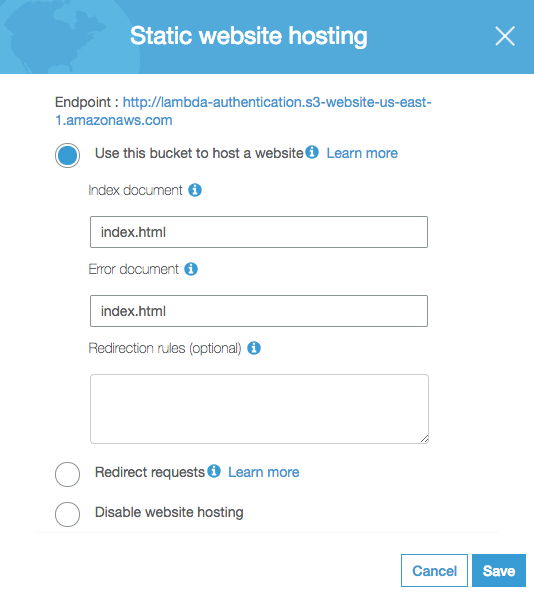
Finally save your settings. If you want to get fancy later, you can upload a special 404 page and specify that file as the error document, but let’s keep things simple for now.
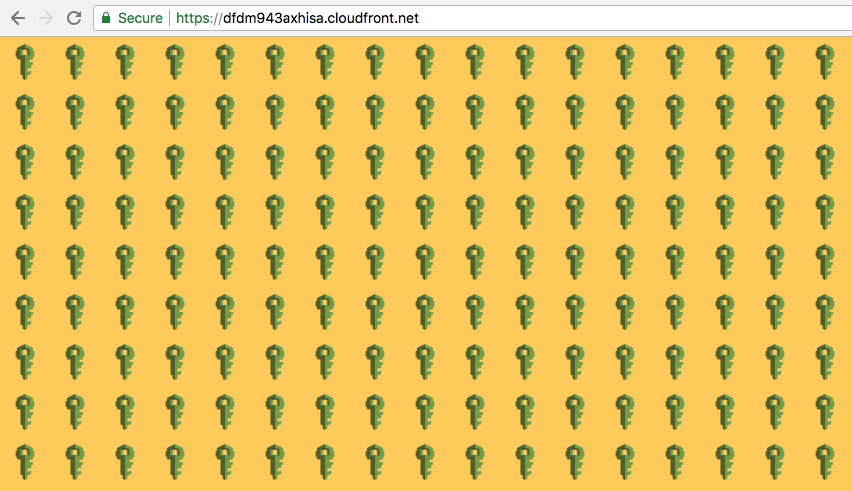
If you click on the “Static website hosting” card again, you should see an “Endpoint” specified. If you visit that web address, you should see your website:
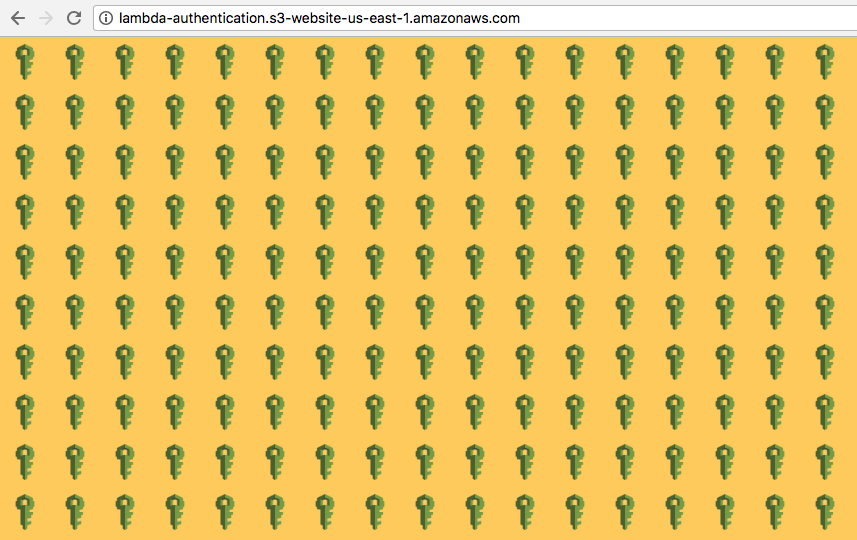
Great! You’re now ready to create a user-authentication layer by configuring a CloudFront distribution for your site.
Distributing Your S3 Site with CloudFront
CloudFront is AWS’s content distribution network, which distributes your S3 site content to servers around the world, getting your content to viewers faster. CloudFront also allows us to add authentication to an S3 site.
To get started with CloudFront, return to the AWS console and click the CloudFront link, then click the big blue button that says “Create Distribution”:

On the following screen, click the blue button that says “Get Started” under the “Web” section, then select your S3 bucket address under “Origin Domain Name”. Under “Restrict Bucket Access” select “Yes”, set “access-identity-lambda-authentication” as the identity to use, and finally choose “Yes, Update Bucket Policy”:
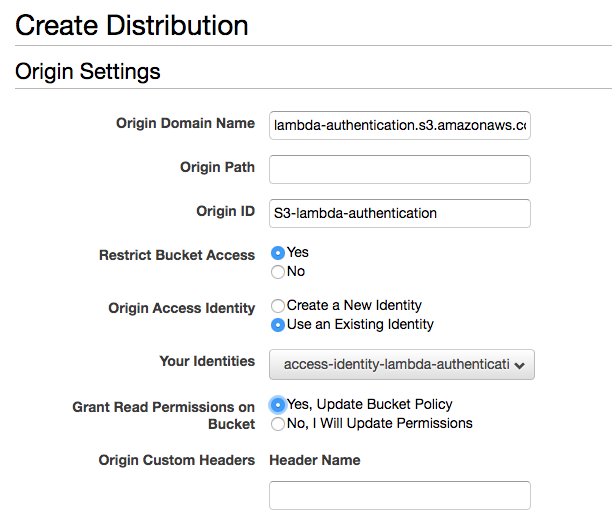
In the text field labelled “Default Root Object” below, type “index.html”, then click “Create Distribution”. From the next page, you should be able to click the “Distributions” link in the left sidebar to see your new distribution’s status. Take a note of the value under “Domain Name” – in just a few moments that value will become the new address of your new website. The “Status” field will say “in progress” for a few minutes, so while it’s generating we can configure the Lambda function that will provide the actual authentication mechanism.
Creating IAM Credentials
In order to configure Lambda to work with an S3 bucket, we’ll need to create an IAM profile that has access to the bucket. To do so, navigate back go the AWS console and click the link for the IAM service. Once there, click “Roles” in the left-hand sidebar, then “Create role”. On the next screen, under “Choose the service that will use this role” click “Lambda”, then click “Next: Permissions” at the bottom of the screen. Search for and select the “AWSLambdaExecute” role:
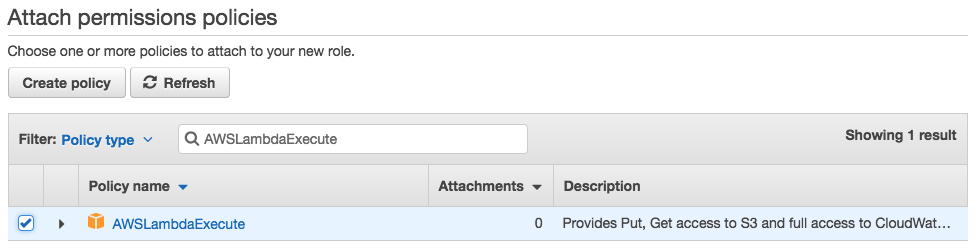
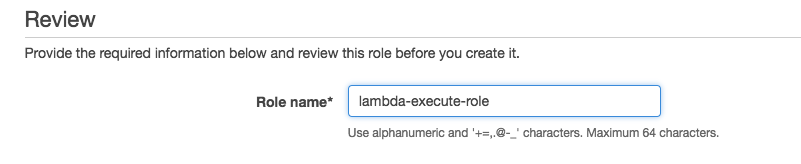
Then click “Next: Review” at the bottom of the page. On the next screen, name your role “lambda-execute-role”, then click “Create role”:
On the next page you should see that your Lambda role has been created. Once it’s created, click on the link to the role, then click “Trust relationships”, then click “Edit trust relationship” and replace the contents with the following:
{
  "Version": "2012-10-17",
  "Statement": [
    {
      "Effect": "Allow",
      "Principal": {
        "Service": [
            "lambda.amazonaws.com",
            "edgelambda.amazonaws.com"
        ]
      },
      "Action": "sts:AssumeRole"
    }
  ]
}
This little update allows the policy to interact with Lambda@Edge, which is the service that provides the authentication logic. Once that’s all set, you are ready to proceed to using this role in Lambda itself.
Creating the Authentication Layer with AWS Lambda
With all of the stage-setting in place, we can now create the actual logic that will handle user-authentication. To do so, return once again to the AWS console. Once you’re there, take a look at the black navigational bar at the top of your screen. Off to the right you should be able to select the “region” in which you wish to operate. For this next step you must be in the N. Virginia region (a.k.a. us-east-1). Once you’re in the N. Virginia region, click the link for “Lambda”.
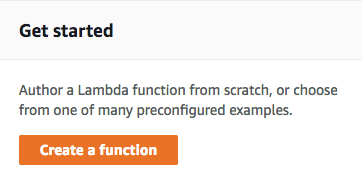
Lambda is a piece of AWS’s “serverless” stack that allows one to run serverside code without having to build, run, and maintain a whole server. We’ll use it to run our authentication logic. On the Lambda landing page, click the orange button that says “Create a function”:
On the next page, keep “Author from scratch” selected. Name the function “authentication”, select Node.js as the runtime, select “Choose an existing role” , and select “lambda-execute-role” as the existing role to use (this is the role we just created in the IAM console):

Finally, click “Create function” at the bottom of the page. Scroll down to the code editor and paste the following snippet into the input field:
exports.handler = (event, context, callback) => {

  // Get the request and its headers
  const request = event.Records[0].cf.request;
  const headers = request.headers;

  // Specify the username and password to be used
  const user = 'user';
  const pw = 'password';

  // Build a Basic Authentication string
  const authString = 'Basic ' + new Buffer(user + ':' + pw).toString('base64');

  // Challenge for auth if auth credentials are absent or incorrect
  if (typeof headers.authorization == 'undefined' || headers.authorization[0].value != authString) {
    const response = {
      status: '401',
      statusDescription: 'Unauthorized',
      body: 'Unauthorized',
      headers: {
        'www-authenticate': [{key: 'WWW-Authenticate', value:'Basic'}]
      },
    };
    callback(null, response);
  }

  // User has authenticated
  callback(null, request);
};
This snippet exports a single function that takes as input the three default arguments Lambda provides to Node.js functions [docs]. The function then pulls out the user’s HTTP request and its headers, specifies the correct username and password, and checks to see if the user’s request contained the username and password in its authentication headers. If not, it prompts the user to authenticate; if so it allows the user into the site.
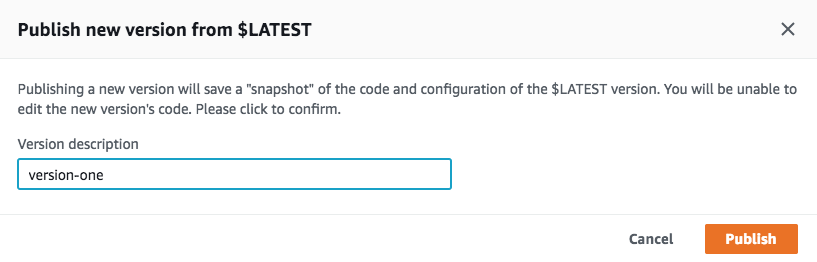
After defining the function, click the big orange “Save” button in the upper-right of the screen. Then, in the list of “Actions” at the top of the screen, click “Publish”, enter a version statement, and click “Publish”:
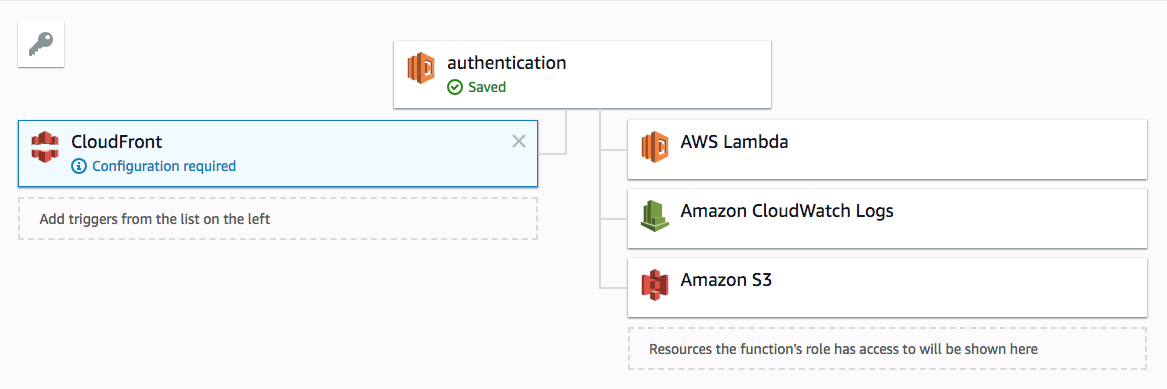
Next, under the “Designer” section toward the top of the page, click “CloudFront”, which will move CloudFront into the triggers portion of the displayed diagram:
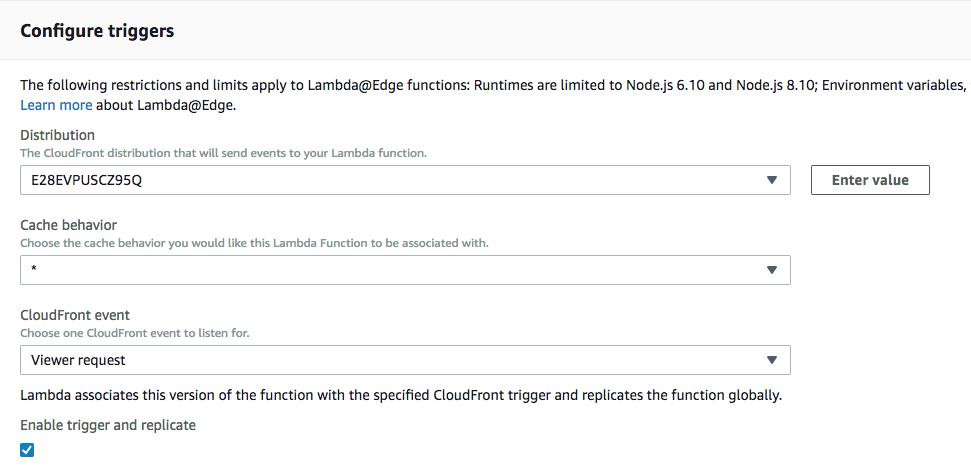
If you then scroll down a bit, you’ll see a section titled “Configure triggers”. Select your CloudFront distribution’s ID under the “Distribution” selector (this is displayed under the ID column in your CloudFront distribution list), make sure you select “Viewer request” as the CloudFront event that will trigger the function defined above, and click the box that says “Enable trigger and replicate”:
Then click “Add”, and click the orange “Save” button in the upper-right hand corner. If you then try to access the address specified under the “Domain Name” column in your CloudFront distribution list [example], you’ll be prompted for a username and password:
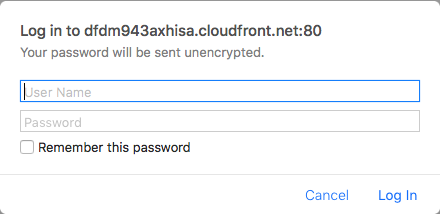
If you type “user” and “password” as the credentials (or whichever values you set as the username and password in your lambda password), you’ll see the site itself!
Cleaning Up
There’s just one problem with the setup we established above. If you request your original S3 bucket address, you’ll be able to access your content without being challenged to authenticate. To fix this, return to the AWS console, delete your content, and reupload your web files. This time, don’t add public read permissions to the uploaded files:
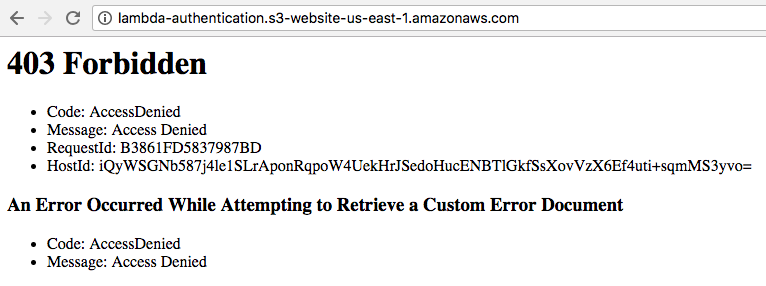
Thereafter, if you request your bucket address directly, you’ll get a 403 response as expected:
If you request the address of your distribution instead, you’ll be able to authenticate and see your website: